By: Anders Peterson, Cannabis Operations Specialist at Pipp Horticulture
With an academic background in molecular biology and over a decade of experience cultivating cannabis commercially, Anders has become a leader in the design and operation of indoor cultivation facilities. In his role at Pipp Horticulture, he supports the development of new products and works with customers to design and optimize their multi-tier cultivation facilities.
In 2017, Pipp Horticulture became one of the first manufacturers to offer a purpose-built vertical mobile racking system to indoor cannabis cultivators. For decades, growers have been building and refining the design of single-level grow rooms with HID lighting. However, grow room designs with vertically stacked tiers of benching on mobile carriages were virtually nonexistent. High-efficiency LED fixtures entered the multi-tier cannabis cultivation market around 2015-2017. These LED fixtures allowed for close-proximity lighting with little waste heat and were much more suitable for vertical applications than HID technology. The concept of a vertically stacked cannabis grow room was born, but their designs presented some unique challenges compared to single-level rooms.
Over the last six years, Pipp has installed vertical racking systems in hundreds of facilities worldwide, totaling over 2,500 grow rooms and millions of canopy square feet. Along the way, we gained valuable insights into how to design a successful multi-tier grow room and the common challenges to avoid.
By far, the most significant limiting factors to the performance of these rooms are insufficient airflow and poor mechanical system designs. With the proper airflow and mechanical system design, we have seen the product quality and yields in these rooms match or exceed single-level room yields per square foot. In this article, we want to share some proven best practices for designing multi-tier cannabis grow rooms that facilitate good airflow and a homogenous environment.
Space Planning and Room Layout
A good airflow strategy starts with space planning and the racking layout within your room. The goal is to create a racking layout that maximizes the canopy footprint within the room while leaving adequate space around the racking structures for air to mix and flow. Without a buffer zone between the racks, you risk “choking” out of the room and restricting airflow. Maximizing the cubic footage of your room too much can be a detriment to plant health.
Plan for at least 6-12” of space between each row and the side walls of the room when the racks are in the resting position (evenly spaced, no mobile aisle). The recommended space in front, behind, and above the racks scales as you increase the number of grow tiers, the racks get taller, and the canopy footprint increases. For example, in a flower room that is 2000-2500 sq. ft of canopy with two tiers of vertical racking, leave 6-8’ in the central front aisle and 2-3’ in the back of the room while leaving as much space above the racks as possible.
Consider the length of your rows and how far the air will travel for a more consistent environment. The longer the air travels, the more humid and hot it will become, resulting in different canopy conditions in the front and back of your room. Generally, 32-40’ or fewer row lengths are preferred to limit air travel distance.
Another important thing to consider is the height of each grow tier. Too short and you can restrict airflow; too tall and decrease the headspace above the racks. On average, most veg rooms are 3-tiers with 4’ tier heights, and flower rooms are commonly 2-tiers with a 5-5.5’ tier height.

Mechanical System Design for Multi-Tier Rooms
A proper mechanical system design is crucial to the performance of a multi-tier room. Almost every time I speak with a grower struggling in a multi-tier room, it is due to a poorly designed mechanical system. A flawed mechanical system will limit the room’s yield potential, slow growth rates, and negatively affect plant health. Don’t cut corners here; engage experienced professionals during the design phase and budget appropriately. Once a mechanical system is installed in a cultivation facility, it can be problematic and expensive to retrofit, so get it right first. Purpose-built designs are a must, and installing vertical racking in a room with a mechanical system designed for single-tier or dry/cure is ill-advised.
A non-integrated system is prevalent due to its low cost and the consistency of separate air conditioners for temperature control. Standalone dehumidifiers for humidity control could be better for multi-tier applications. All those different systems often complicate the airflow strategy for the room.
An integrated system with a reheat is preferred, allowing one system to efficiently control temperature and relative humidity, eliminating the need for standalone dehumidifiers. These systems are typically outside the room, either on the roof or on grade, and ducted into the room. Take great care during the sizing of this system, and be confident it has enough capacity to handle the latent load of the room.
The best, most accurately sized HVAC system will not perform if paired with poorly designed ductwork. Growers can supply air evenly across the front of the space in the main aisle with rows less than 40’ for a racking layout. Assuring airflow can reach multiple elevations at the height of each grow tier. This ductwork configuration will create a single-pass recirculating airflow strategy in conjunction with in-rack airflow. A well-designed system will exchange all of the air in the room roughly every 2-3 minutes ensuring a consistent environment, leaf temperature, and VPD. You cannot rely on your HVAC systems fan for in-room airflow. In-rack airflow systems are a requirement to close the loop in this circular airflow strategy.
In-Rack Airflow Systems
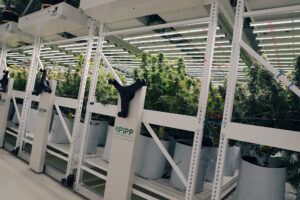
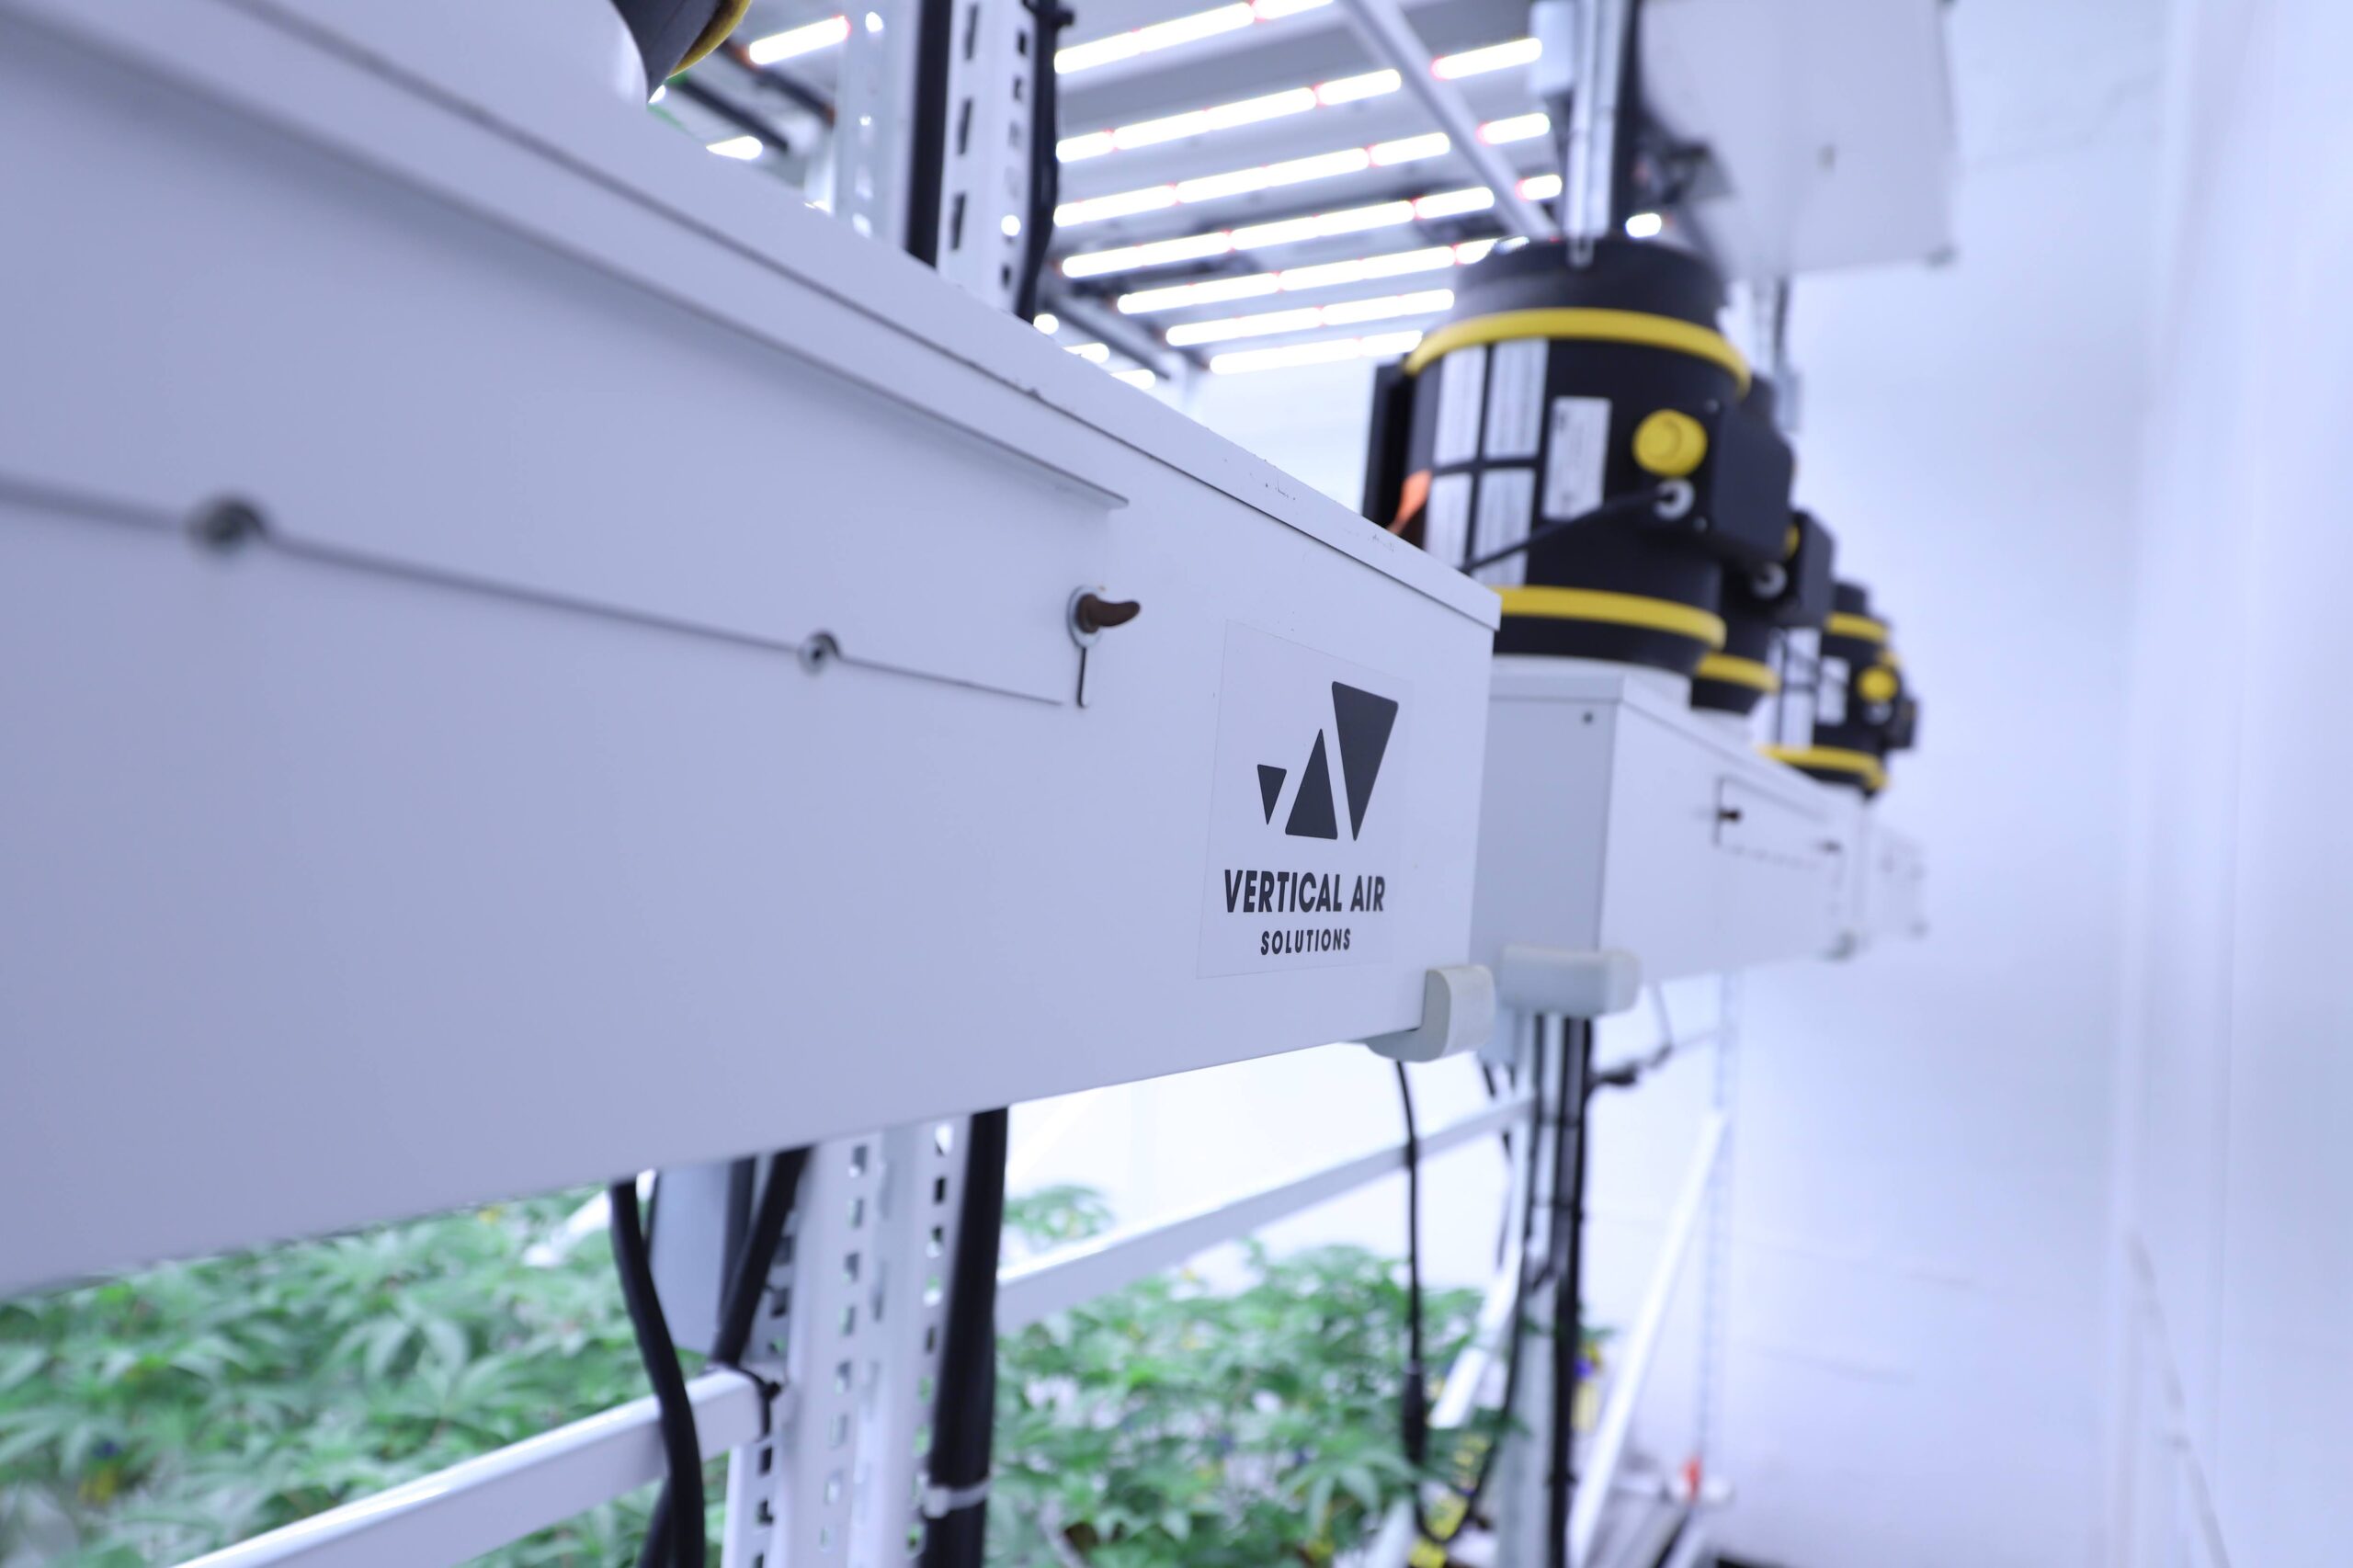
As mentioned above, in-rack airflow systems operate within the grow room and work in conjunction with a well-designed ductwork configuration to close the loop on the circular air path. These systems are installed on every tier of every row and consist of one or more inline fans and a ducting system to deliver air to the plant canopy. The fans are sized based on your row length and tier height. Located at the front of your room, close to the main aisle where the supply air is delivered.
These fans then capture the conditioned, dehumidified, CO2-enriched air from your HVAC system and push it down the row along the canopy to the back of the room where the return grilles are. In-rack airflow fans typically operate 24/7, are variable speed, and are usually only ramped down or shut off during foliar spray events or room resets.
Don’t forget to account for the electrical draw of your in-rack airflow fans during the design phase. They add up quickly and are usually single-phase. Also, check to see if they have an EC motor because most utilities will provide rebates for every EC motor in your facility, helping offset the cost of the system. Suppose you have a backup generator for your facility. In that case, I typically recommend tying in the fan motors in your HVAC units and as many in-rack airflow fans as possible to keep the air moving. A best practice is to include an irrigation pump to keep your plants watered and a small percentage of your lights to maintain the photoperiod during an outage.
Vertical Air Solutions was the first in-rack airflow system explicitly designed for multi-tier cannabis cultivation. Matt Bogner and James Cunningham of Fog City developed the system in Santa Cruz as one of the first multi-tier cannabis cultivation facilities in the United States.

Plant Height and Canopy Management
Even the most well-designed multi-tier grow rooms can still struggle with airflow if you don’t carefully manage your plant height and canopy. Cannabis can rapidly double or triple in size during the first few weeks of flower, commonly called “plant stretching.”
Growers transitioning from single-level to multi-tier tend to over-veg their plants and underestimate the stretch. If your plants are too big when you flip them into flowers, or you are growing a cultivar that tends to stretch a lot, they will grow right into the LED fixtures and choke out the space in the rack for air to flow. Many strategies exist to manage the stretch and control plant height to allow good airflow through your room.
The fundamentals of controlling plant stretch in early flower begin in the veg room. Start by familiarizing yourself with the genetics you have in rotation, track their growth rates in veg, and get to know which cultivars tend to stretch a lot or not at all in flower. Group cultivars into harvest groups based on these growth characteristics and then time the veg rotation and do the required plant training techniques to manage the final plant height. Some combination and amount of plant training (trellising, topping, super cropping) along with the strategies above. The goal with plant training is to do the least amount possible to limit touches and labor costs while still getting the desired result.
In the early flower stage, to help control plant stretching, environmental crop steering techniques can also be used. Environmental crop steering is a technique where growers manipulate the environment to add or remove plant stress signals to get an intended growth response. A simple example is when plants don’t receive enough light, they stretch and become taller to get more light, an undesirable trait for indoor cultivation. So growers will alter the environment by delivering a higher lighting level steering the crop to remain shorter.
Another way to manage stretch with environmental cues is by controlling your room’s day and night air temperatures. The DIF technique of temperature control, or the difference between day and night temperatures, can control the stretch in many plants. Warm days and cold nights result in plants stretching. You can leverage this by running a slightly warmer night temperature than your day temperature at the beginning of the flower to suppress stem elongation.
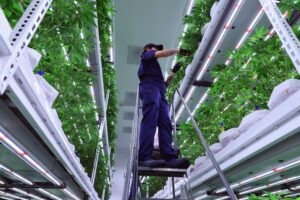
A similar but somewhat easier technique of getting the same suppression response is called a “cool air dump” or “cool morning pulse.” To do this, reduce the day temperature to 5°F-10°F lower than the night temperature for the first 2-3 hours during the first few weeks of flower. In addition to controlling the plant height, defoliation is another necessary step to ensure good airflow through your canopy. Defoliation manually removes excess fan leaves and branches to thin out the canopy. Despite being a tedious task that requires a high labor cost, defoliation has numerous benefits for plant health, yield, and product quality. The more you stay ahead on your defoliation, the less of a chore it becomes.
Start your veg defoliation with a healthy canopy thinning before flipping the plants into flower. The specific day and frequency depend on the cultivar to defoliate the flower, but a common strategy is to defoliate on day 21 and day 42. These defoliation events and skirting the under portion of your canopy are great ways to ensure good air circulation and have healthy harvests.
Conclusion
As the cannabis industry continues to mature, more indoor cultivation facilities will be built, older facilities will be retrofitted or shut down, and the design of multi-tier grow rooms will improve.
Innovative new products will undoubtedly come to market, and the airflow strategies above will likely be refined and optimized. The design and operation of commercial indoor grow rooms is an exciting new field filled with opportunities to learn and innovate. The team at Pipp Horticulture is thrilled to be on the cutting edge and continue sharing what we discover.


